What you need
Tool
 Screwdriver
 Tap cutter Mx
 Cutter knife
Parts
-
Housing
-
Battery pack
-
Lasercut feet
-
Lasercut adapter plate
-
Radar bracket
-
Radar module
-
MicroSD card
-
Everything assembled so far
-
5x M3x5mm screws
-
4x M3x14mm cylinder head screws
How it works
Mount the adapter plate
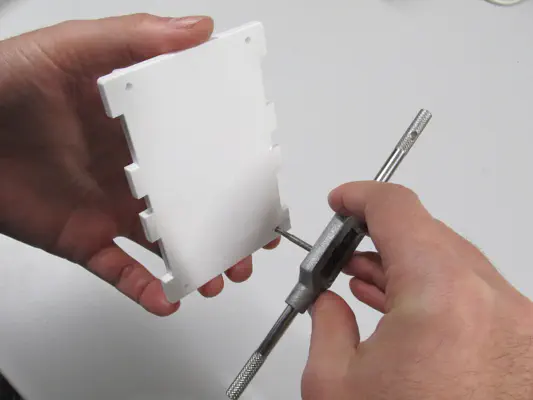
All four holes must be fitted with an M3 internal thread
Use an Allen key to insert all four cylinder head screws from the inside through the opening and the spacer washer and screw them into the adapter plate.
Attach base plate
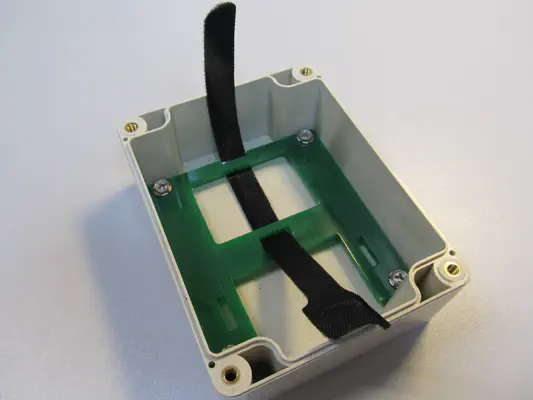
Base plate with Velcro tape for the battery
- First insert the Velcro tape into the middle opening with the soft side facing upwards and guide it towards the cut-out .
- Then place the base plate in the housing with the loose Velcro ends facing upwards and screw tight with M3x5mm screws. The orientation of the plate within the housing does not matter.
Attach battery
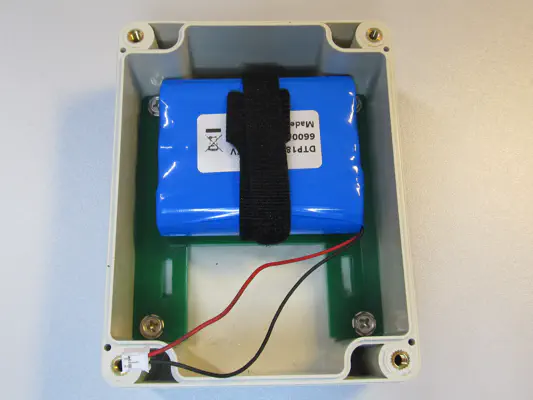
Battery pack in the housing
Insert radar module into frame
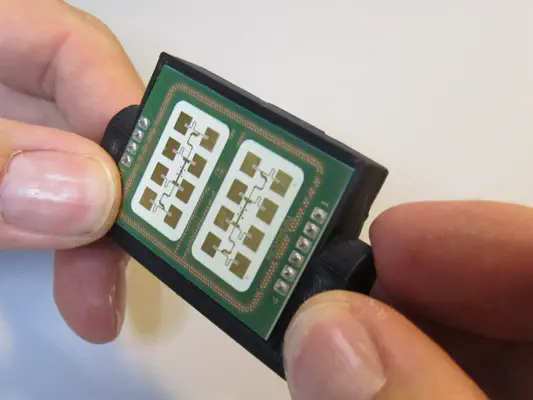
Front
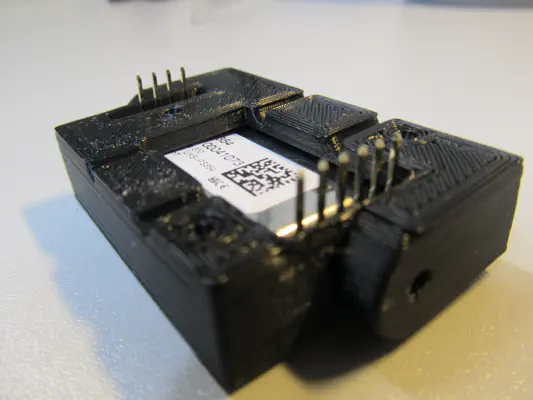
Back
Attach and screw on Teensy/Audioshield
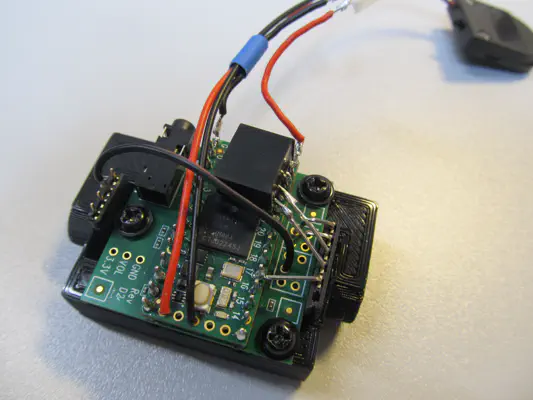
Front
- When attaching the Teensy&Audoshield to the pins of the radar module, you just have to make sure that the holes for the screws in the audio shield match those of the 3D print holder.
- Then you can connect the 6-pin connector first and then
- Plug in the 4-pin connector so that the cable is soldered to the second pin (as seen from the jack connection).
- Then attach the audio shield to the bracket with 3 M3x5mm screws.
Screw the radar module frame to the adapter plates
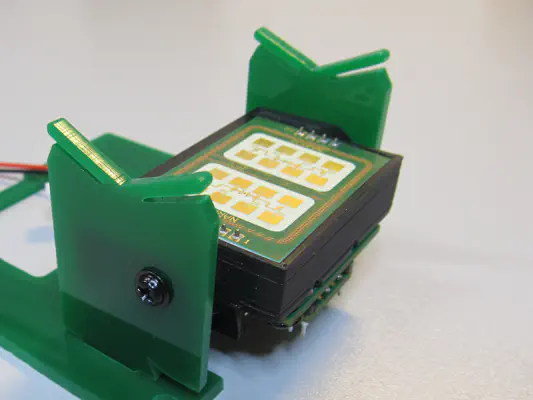
Screwed-on feet
- Now you can screw the feet from the laser cutter to the 3D print holder using one M3x5mm screw each. Do not screw them on too tightly so that you can still move the module.
- The longer of the two long edges points towards the wide end of the 3D print holder, while the overhang on the short edge points away from the radar module.
The feet are only in the base plate for the photo. You do not need the base plate here, it can remain screwed into the housing.
Insert micro SD card
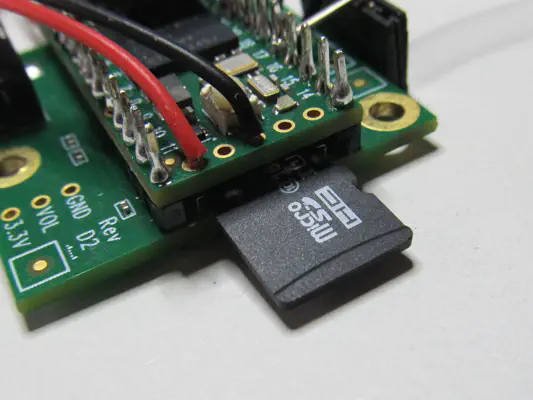
MicroSD card in the slot of the audio shield
Button cell holder
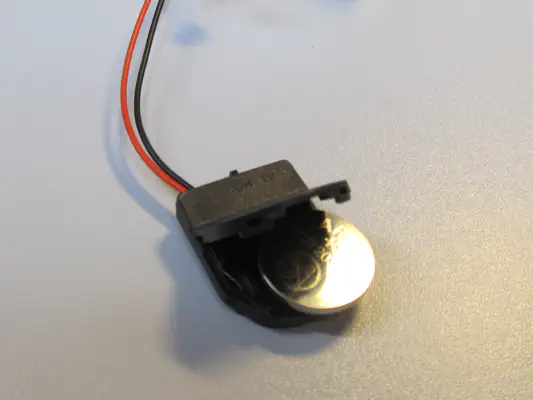
Button cell holder with button cell
s
Electronics in the housing
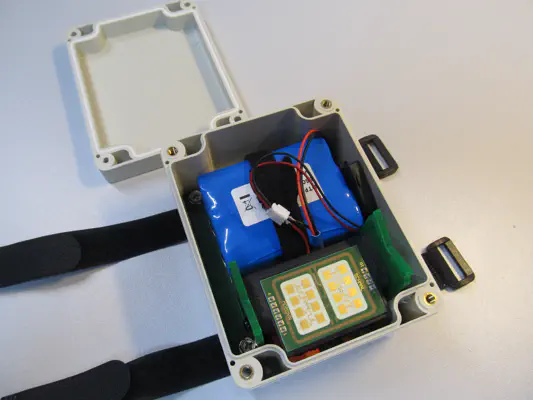
Front
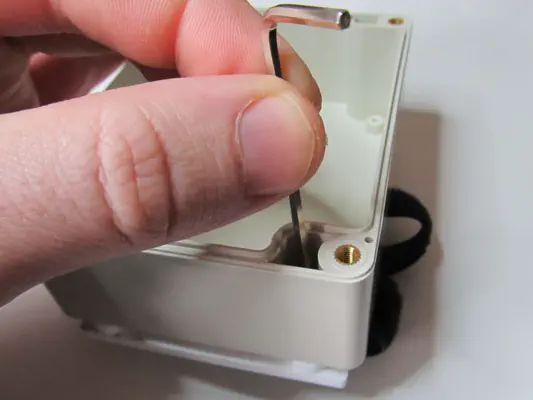
Seal the housing cover
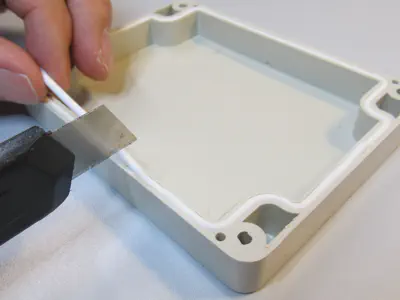
Shortening the rubber seal.
Congratulations! The hardware part is complete! Before you can screw the cover onto the housing (supplied or M4x20mm security screws), you still need to flash the software onto the Teensy developer board